Easy Pom Pom Tutorial: 4 Methods for Crochet Projects
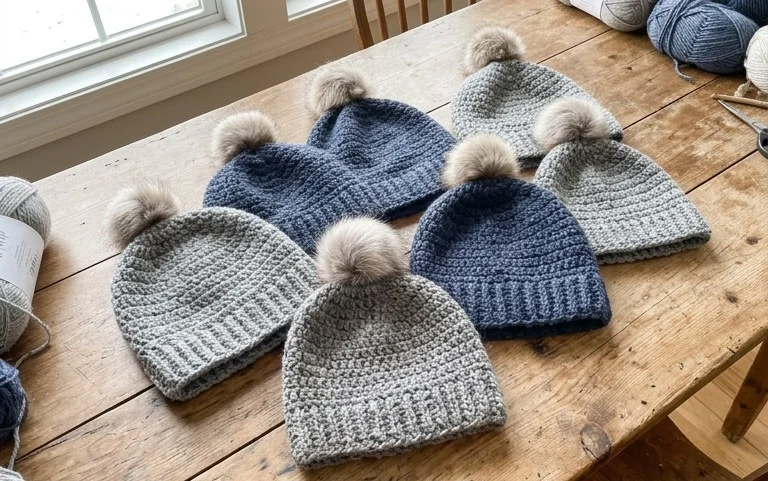
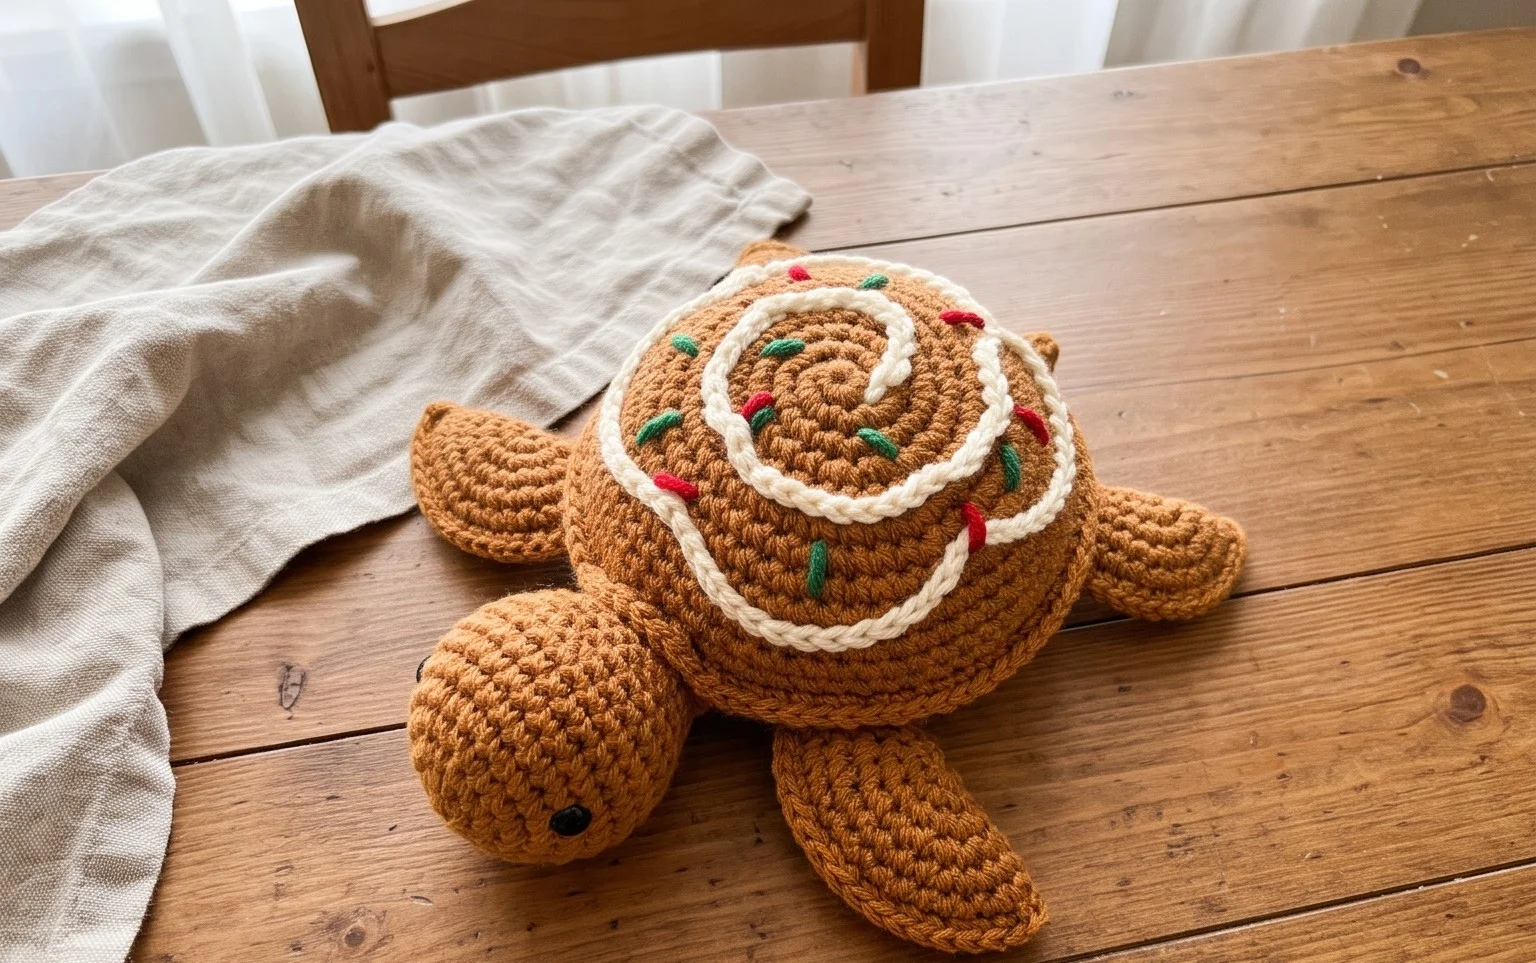
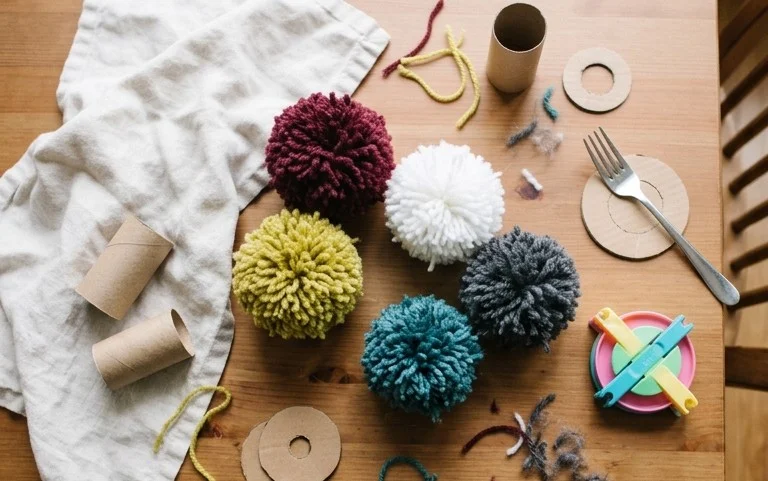
A freshly trimmed yarn pom pom feels soft and springy, with a rounded shape that adds a playful finish to hats, scarves, gift wrapping, and home decorations. You can make one with a cardboard template, a fork, your fingers, or a dedicated pom pom maker, so there is a method to suit the tools already in your craft basket. This project works well for beginners who want a quick yarn craft, and it gives gift makers an easy way to add a handmade touch. You’ll learn how wrapping, tying, cutting, and trimming affect the pom pom’s fullness and shape. Try a small one first, then adjust the number of wraps and the yarn length to make a size that suits your project.
Why You’ll Love This Pattern
This cotton dishcloth is worked in straight rows of single crochet, so the fabric is firm, easy to count, and useful for everyday kitchen cleanup. Its small size makes it a manageable project to finish in a few evenings, and the simple stitch pattern is a good way to practise keeping even tension.
One skein provides enough yarn for the cloth with some left over, making the pattern practical for using up cotton from another project. The finished cloth also makes a useful handmade gift: fold it, tie it with kitchen twine, and include its washing instructions.
The rows were easy to follow, and the cotton made a sturdy cloth that washed well after use.
— Mara, home crocheter
Pattern Overview & Skill Level
- Skill Level: Beginner. You need to chain and make single crochet stitches.
- Approximate Time: 2–3 hours, depending on your pace and tension.
- Construction: A flat rectangle worked back and forth in rows, without a separate edging.
- Finished Dimensions & Sizing: Approximately 7.5 × 6.7 in (19 × 17 cm) at the stated gauge. Small differences in tension will change the finished size.
Materials & Supplies Needed
- Yarn: About 80 yd (73 m) of worsted-weight (#4) 100% cotton yarn. A single solid color makes the rows easy to see; use a contrasting yarn for the turning chain if you need help spotting the row ends.
- Hook Size: 5.0 mm / H-8 crochet hook. Check your gauge and change hook size if needed.
- Notions: Tapestry needle for weaving in the yarn tails, scissors, and a ruler or tape measure.
- Substitutions: Choose another worsted-weight cotton yarn with a similar recommended gauge. Cotton is absorbent and holds its shape when damp. A cotton-linen blend may feel a little crisper, while a smooth cotton-acrylic blend may be less absorbent. Avoid delicate fibers that need special care for a cloth used around water. A different yarn weight changes the size and may also change the amount of yarn required.
Gauge: 16 single crochet stitches and 18 rows measure 4 × 4 in (10 × 10 cm) in a flat swatch, worked without stretching. Make a small swatch before starting if you want to match the listed dimensions. If you have more stitches per 4 in, try a larger hook; if you have fewer, try a smaller hook.
Stitch Guide & Abbreviations (US Terms)
- ch = chain.
- sc = single crochet: insert the hook into the indicated stitch, yarn over and pull up a loop, yarn over and pull through both loops.
- st = stitch.
- sts = stitches.
- rep = repeat.
The turning chain does not count as a stitch in this pattern. Work the first single crochet into the first stitch of each row, directly below the turning chain. This keeps the sides straight and maintains 30 stitches across.
Step-by-Step Pattern Instructions
Dishcloth
Use the 5.0 mm hook and cotton yarn. Keep your chains relaxed so the starting edge does not pull in more tightly than the rows. For consistent edges, count the stitches at the end of each row.
- Foundation: Ch 31.
- Row 1: Sc in the second ch from the hook and in each ch across. (30 sts)
- Row 2: Ch 1, turn. Sc in each st across. (30 sts)
- Rows 3–30: Rep Row 2. (30 sts each row)
After Row 30, measure the cloth. At the stated gauge, it should be about 7.5 in wide and 6.7 in long. If your measurements differ slightly, that is fine for a dishcloth; use the gauge notes if you want to adjust the fabric for another cloth.
Finishing
Cut the yarn, leaving a tail of about 6 in (15 cm). Pull the tail through the loop on the hook to secure it. Thread the tail onto a tapestry needle and weave it through several stitches on the wrong side. Change direction and weave through a few more stitches to help prevent the end from working loose. Trim the remaining yarn close to the fabric without cutting any stitches. Weave in the starting tail the same way.
No blocking is required for everyday use. If the cloth’s edges curl, dampen it, lay it flat, and gently smooth the sides into a rectangle. Let it dry before using or folding it.
Care & Washing Instructions
- Wash cotton in cool or warm water, up to 40°C (104°F), with like colors; check the yarn label before using a hotter wash.
- Lay the cloth flat to dry, or tumble-dry on low if the yarn label allows it; high heat can shrink cotton.
- Reshape the damp cloth into a rectangle by hand. Blocking is optional, but a light steam is not needed for a working dishcloth.
Pro Tips & Common Mistakes to Avoid
- Keep your tension even, especially in the foundation chain. If the bottom edge is tight, try making the chain with a hook one size larger, then switch to the pattern hook for Row 1.
- Count 30 stitches at the end of every row. Missing the first stitch after the turning chain can make the cloth narrower; adding a stitch at the row end can make the sides flare.
- Use a tapestry needle to weave yarn tails through the wrong side in more than one direction. A short tail worked through only one row can loosen during repeated washing.
- To make the cloth wider or longer, add chains in the foundation or work more rows, respectively. Each extra foundation chain adds one stitch to the width; more rows use more yarn and increase the finished length.
Frequently Asked Questions
Can I use acrylic yarn instead of cotton?
You can, but the cloth will usually absorb water differently and may feel warmer or less suited to wiping kitchen surfaces. For a functional dishcloth, choose cotton or a cotton-rich yarn. Follow the care instructions for the yarn you use.
How can I make a larger dishcloth?
Add chains to the foundation for extra width and work additional rows for extra length. Each new foundation chain adds one stitch, so keep track of the total and use the same stitch count in every row. A larger cloth will need more yarn.
Is this pattern suitable for a first crochet project?
Yes. It uses only chains and single crochet stitches worked in straight rows. Practise identifying the first and last stitch of a row, since those are the places where beginners most often lose or add a stitch.
May I sell dishcloths made from this pattern?
Check the designer’s terms before selling finished items, and follow any credit or licensing requirements. If you sell the cloth, give buyers accurate fiber and care information based on the yarn label.
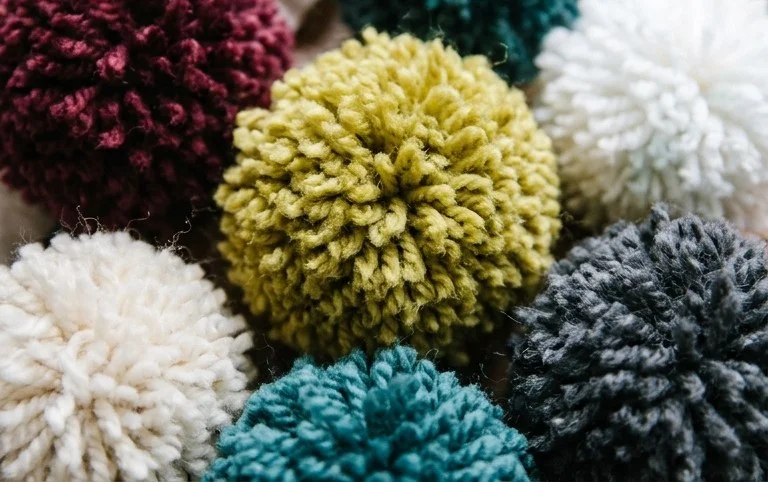
A neatly trimmed pom pom is a small finish that can make a handmade hat, wrapped gift, or cushion feel more personal. Try changing the size by using a wider cardboard template, or combine two yarn colors for a speckled look. Keep the center tie long if you plan to sew the pom pom onto a project, and trim gradually so you don’t cut it smaller than intended. If you make one, share a photo on Pinterest or your favorite social platform. Then browse the blog for more free patterns and yarn projects to make with your leftover skeins.