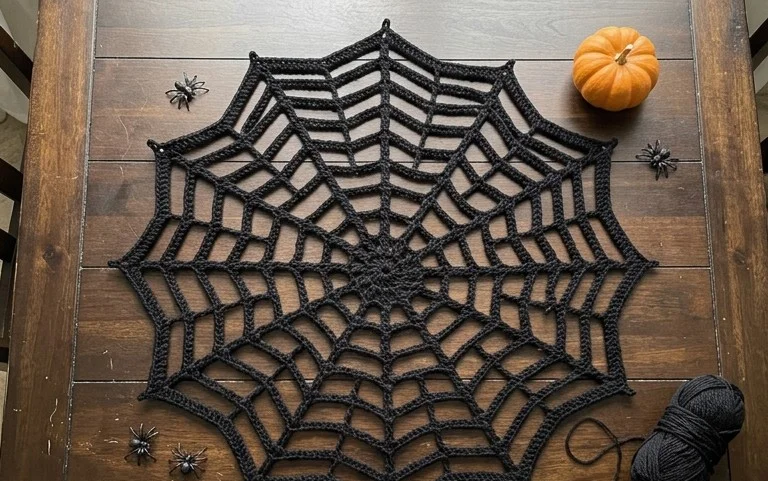
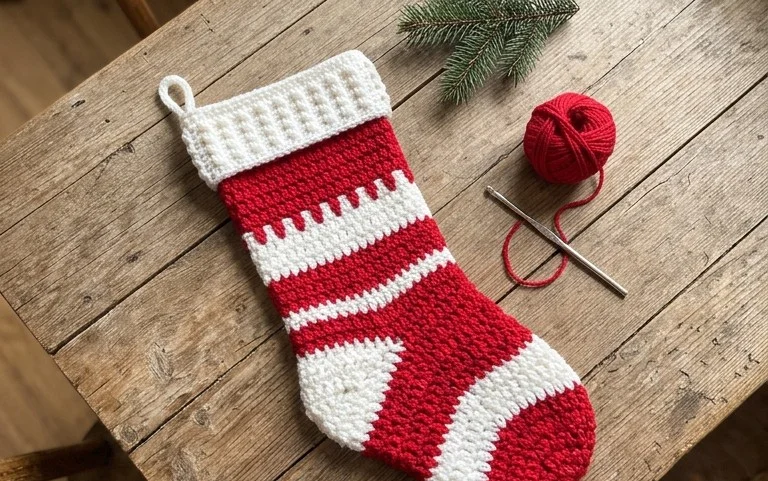
Easy Christmas Tree Ornaments: Free Crochet Patterns
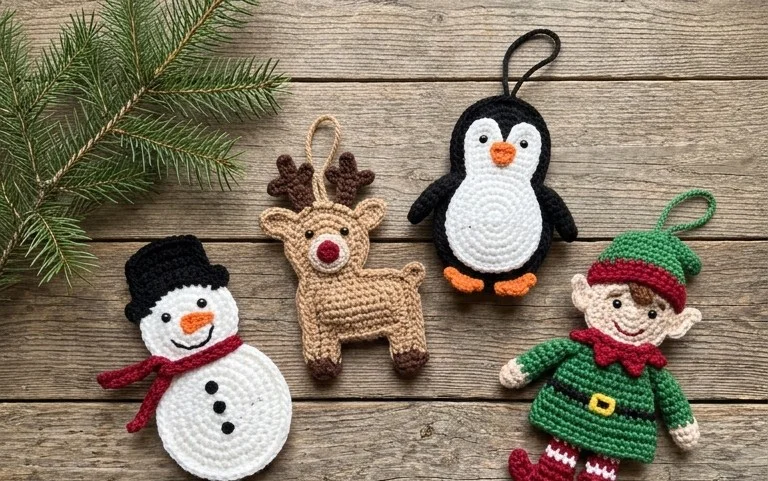
Small, handmade decorations carry a weight and warmth that store-bought plastic balls simply lack. These crocheted ornaments often feature a dense, sturdy structure that holds its shape on a pine branch for years. They suit beginners who want to practice tension on small shapes and those who need a thoughtful gift for a neighbor on short notice. You will work with basic increases and simple chain loops, building confidence as you go. Shaping these tiny pieces creates a sense of accomplishment during the busy holiday season, leaving you with a lasting, cherished heirloom for your home.
Why You’ll Love This Pattern
This crochet ribbed beanie pattern utilizes a simple combination of single crochet stitches worked in the back loops, creating a stretchy, fabric-like texture that mimics knit ribbing. Because it is worked as a flat rectangular panel that is folded and seamed, it is an ideal project for beginners who are not yet comfortable working in the round. You can easily adjust the height by changing your starting chain length and the circumference by adding or subtracting rows, making it a highly customizable project for any head size. Its classic silhouette fits snugly, providing warmth for chilly weather without adding unnecessary bulk.
I finished this hat in one evening while watching a movie. The texture looks like it came off a loom, and it fits perfectly without being too loose.
— Sarah, hobbyist crocheter
Pattern Overview & Skill Level
- Skill Level: Beginner
- Approximate Time: 2–3 hours
- Construction: Flat panel, worked in rows, seamed to form a tube, and cinched at the top.
- Finished Dimensions: 9 inches wide by 10 inches tall (fits average adult head circumference of 21–23 inches).
Materials & Supplies Needed
- Yarn: Worsted weight #4, 100% acrylic or wool blend, approximately 180 yards.
- Hook Size: 5.0 mm (US H-8).
- Notions: Tapestry needle for seaming, scissors, and a stitch marker to keep track of row ends.
- Yarn Substitutions: You can use a cotton yarn for a lighter weight, but note that cotton lacks the natural stretch of wool or acrylic; you may need to add an extra inch to your foundation chain to ensure a comfortable fit.
Stitch Guide & Abbreviations (US Terms)
- ch: chain
- sc: single crochet
- st(s): stitch(es)
- BLO: back loop only (insert hook under the back loop only of the stitch rather than both loops to create ribbing).
- sl st: slip stitch
- turn: turn your work to the opposite side to begin the next row.
Step-by-Step Pattern Instructions
Hat Body
- Row 1: Ch 41. Sc in the second ch from hook and in each ch across. (40 sts).
- Row 2: Ch 1, turn. Working in BLO, sc in each st across. (40 sts).
- Rows 3–60: Repeat Row 2 until the piece measures approximately 18 inches unstretched. Do not fasten off.
Seaming and Finishing
- Joining: Fold the piece in half, bringing the first row to the last row. Sl st through both the foundation chain edge and the current row edge to create a tube. Fasten off, leaving a 12-inch tail.
- Closing the Crown: Using your tapestry needle and the long tail, weave the yarn in and out of every other row end along the top edge of the tube. Pull the yarn tail tight to gather the top of the hat closed.
- Securing: Insert the needle through the center of the gathered top and tie off securely on the inside. Weave in all remaining loose ends.
Care & Washing Instructions
- Hand wash your beanie in cool water using a gentle wool-safe detergent.
- Lay the hat flat on a dry towel to air dry, reshaping it while damp to ensure the ribbing stays consistent.
- Avoid using a tumble dryer or heavy heat, as this can shrink synthetic fibers or felt wool, altering the finished size.
Pro Tips & Common Mistakes to Avoid
Maintain consistent tension throughout each row; if your stitches are too tight, the finished ribbing will feel stiff rather than stretchy. Use a stitch marker on the first and last stitch of every row to ensure you do not accidentally skip stitches, which causes the edges of your rectangle to slant. Weave your ends in by threading them through the ribs on the inside of the hat to hide them completely. To adjust the size, simply add more rows for a larger circumference or fewer rows for a tighter fit; adding or subtracting rows changes the length, while changing the starting chain length determines how far the hat hangs down the head.
Frequently Asked Questions
Can I use a chunky weight yarn instead?
Yes, but you will need to adjust the number of stitches in your foundation chain. Use a larger hook size, such as 6.5 mm or 7.0 mm, to accommodate the thicker yarn and reduce your stitch count so the hat doesn’t become too wide.
Is this pattern suitable for complete beginners?
This is a great project for beginners because it uses only one basic stitch, the single crochet, and requires no complicated shaping or working in the round.
Can I sell the hats I make from this pattern?
You are welcome to sell finished items created from this pattern. I ask that you credit the designer by including a link to this page in your online shop or physical product tags.
What if the hat is too small?
If the hat is too tight, you can add 4–6 additional rows to increase the circumference. Ensure you work in multiples of two to keep the ribbing pattern consistent.
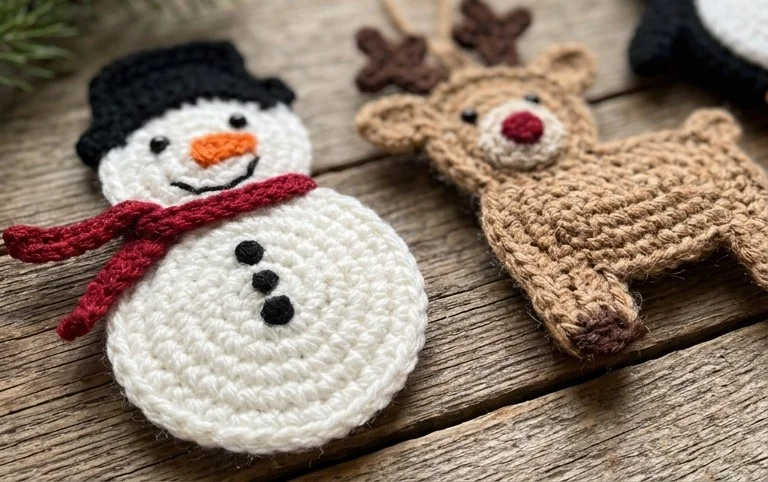
These tiny decorations look charming dangling from a green branch or tied onto the top of a brown paper gift bag. You can swap out the classic red or green yarn for metallic thread or velvet cord to give the set a modern, glittering look for your mantle. Snap a photo of your finished work and share it online so others can see your color choices. Browse the rest of the blog to find more small holiday projects that help clear out your stash of leftover yarn scraps.