Easy Crochet Flower Bouquet: Free Beginner Patterns
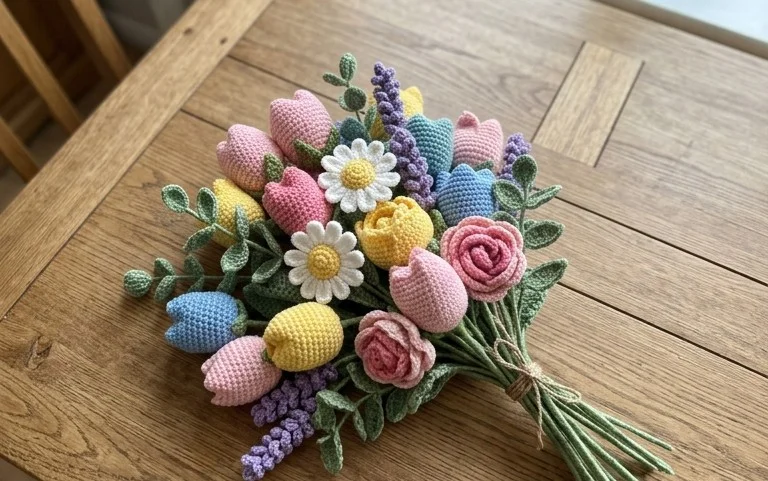
Soft yarn petals feel much warmer than plastic store-bought arrangements, making these handmade blossoms a thoughtful gift for friends or a lasting accent for your own bedside table. You will learn to form structured sepals and organic, ruffled edges using basic single and double crochet stitches. This project suits beginners who want to practice tension while creating something permanent. We break down the assembly process so your stems stand upright without sagging under the weight of the blooms. Once you understand the core petal shape, you can customize the size of your display to fill any vase on your shelf.
Why You’ll Love This Pattern
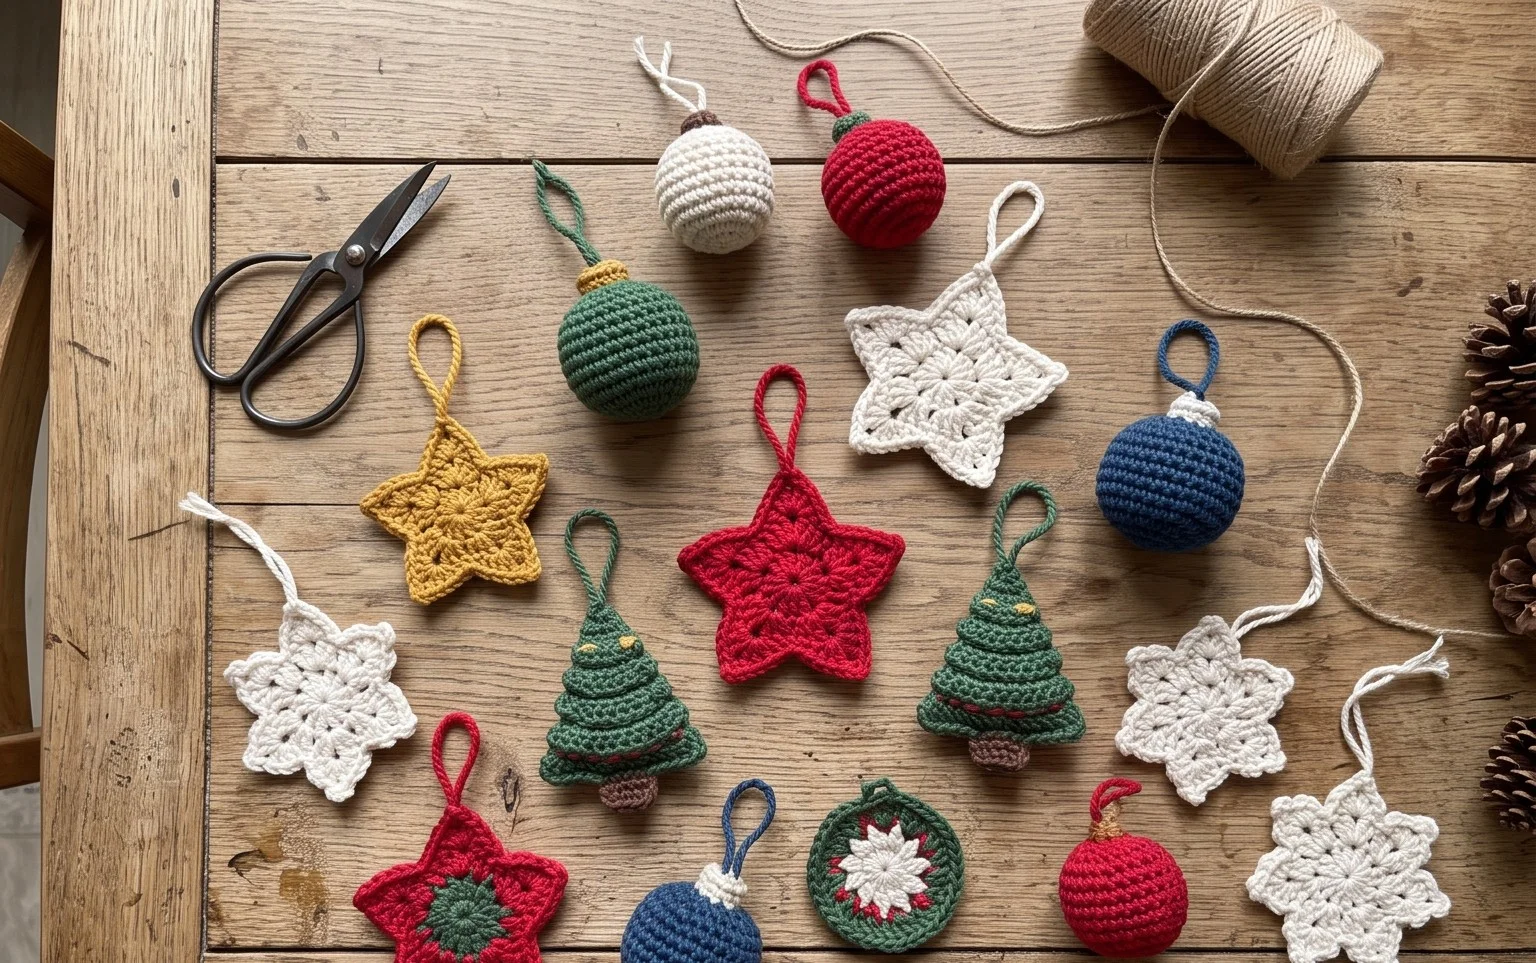
This crochet sphere pattern uses a basic increases-and-decreases structure, making it an ideal starting point for anyone looking to master amigurumi techniques. Because it is worked in continuous rounds without joining, you avoid the visible seam line often found in flat-circle projects. The design is small enough to finish in a single afternoon, and it works perfectly as a base for stuffed animals, ornaments, or stress-relief desk toys. Using a smaller hook size than recommended on the yarn label creates a tight, dense fabric that prevents the stuffing from poking through the gaps.
I finally learned how to keep my increases invisible thanks to this clear breakdown. It was the first time I actually finished a project without having extra stitches at the end of a round.
— Sarah, beginner crocheter
Pattern Overview & Skill Level
- Skill Level: Beginner
- Approximate Time: 45 to 60 minutes
- Construction: Worked in continuous rounds from a magic ring, increasing to a flat circle then decreasing to close.
- Finished Dimensions: Approximately 3 inches in diameter using worsted weight yarn.
Materials & Supplies Needed
- Yarn: Worsted weight (#4), 100% acrylic or cotton, approximately 30 yards.
- Hook Size: 3.5 mm (E-4) for a tight, professional finish.
- Notions: Polyester fiberfill stuffing, stitch markers, yarn needle, and scissors.
- Yarn Substitutions: You can use DK weight yarn with a 3.0 mm hook for a smaller sphere, or bulky weight yarn with a 5.0 mm hook for a larger sphere, though you will need to adjust your stuffing amount accordingly.
Stitch Guide & Abbreviations (US Terms)
- MR: Magic Ring. A technique to start rounds without a hole in the center.
- ch: Chain.
- sc: Single crochet.
- inc: Increase (2 single crochet in the same stitch).
- dec: Decrease (invisible decrease: insert hook into front loops of next two stitches, yarn over, pull through two loops, yarn over, pull through remaining loops).
- st/sts: Stitch/stitches.
- sl st: Slip stitch.
Step-by-Step Pattern Instructions
Sphere Body
- Rnd 1: Start 6 sc in a magic ring. (6 sts)
- Rnd 2: 2 sc in each st around. (12 sts)
- Rnd 3: [1 sc, inc] 6 times. (18 sts)
- Rnd 4: [2 sc, inc] 6 times. (24 sts)
- Rnd 5: [3 sc, inc] 6 times. (30 sts)
- Rnd 6-10: Sc in each st around. (30 sts)
- Rnd 11: [3 sc, dec] 6 times. (24 sts)
- Rnd 12: [2 sc, dec] 6 times. (18 sts)
- Rnd 13: [1 sc, dec] 6 times. (12 sts). Start stuffing the sphere firmly with fiberfill at this point.
- Rnd 14: Dec 6 times. (6 sts)
Finishing
Cut the yarn leaving a 6-inch tail. Use your tapestry needle to weave the tail through the front loops of the final 6 stitches. Pull the tail tight to close the remaining hole securely. Knot the yarn and pull the end through the center of the sphere to hide it inside, then trim the excess.
Care & Washing Instructions
- Hand wash in cool water with a mild detergent to prevent the stuffing from clumping.
- Lay the sphere flat on a clean towel and reshape it while damp.
- Air dry away from direct sunlight to avoid fiber damage or color fading.
Pro Tips & Common Mistakes to Avoid
Maintain consistent tension throughout the project to ensure the sphere remains round rather than lumpy. Use a stitch marker at the start of every round to keep track of your progress without counting every stitch manually. When weaving in your ends, anchor the yarn through the interior stuffing to keep the tail from slipping back out over time. If you decide to adjust the size by adding more increase rounds, remember that for every increase round you add, you must eventually add a corresponding decrease round to close the shape properly.
Frequently Asked Questions
Can I use a different yarn weight for this pattern?
Yes, you can swap for a different weight, but remember that the hook size must change accordingly. Smaller yarn will produce a smaller ball, while thicker yarn will produce a larger one.
Why do my stitches have visible holes?
Large holes usually occur when the hook is too big for the yarn. Switch to a smaller hook size than the one recommended on your yarn label to achieve a tighter fabric density.
Is it okay to sell items made from this pattern?
You are welcome to sell your finished items as long as you credit the original pattern design. Please do not redistribute the pattern text or photos as your own work.
What is the best way to stuff the sphere evenly?
Add the stuffing in small, torn-up pieces rather than one large chunk. This technique prevents lumps and ensures the shape is firm and symmetric.
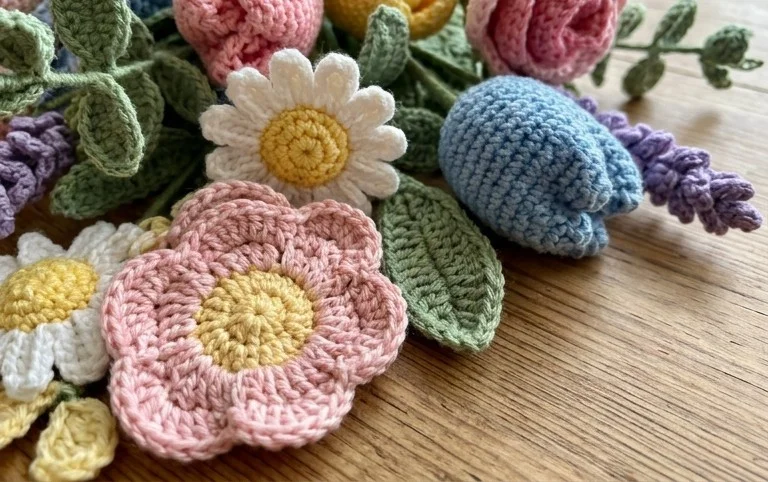
Your new floral arrangement brings a touch of spring into your home without ever wilting or needing water. Swap your standard cotton yarn for a fuzzy velvet weight to create a plush, realistic texture that mimics real pansies or roses. Sharing your finished work on social media helps other makers find inspiration for their own yarn stash projects. Check the rest of our archives for more free patterns to expand your collection of handcrafted botanicals throughout the year. Tag your photos so we can see which colors you chose.